

- Sympana Connector installed in GoHighLevel
- access to your Vapi API key
- a phone number connected to Vapi
- a calendar created in GoHighLevel
Step 1. Open the Vapi app
After installing Sympana Connector in your GoHighLevel account, click on the Vapi app.
Step 2. Open the API key prompt
A pop-up appears asking you to get your API key from Vapi.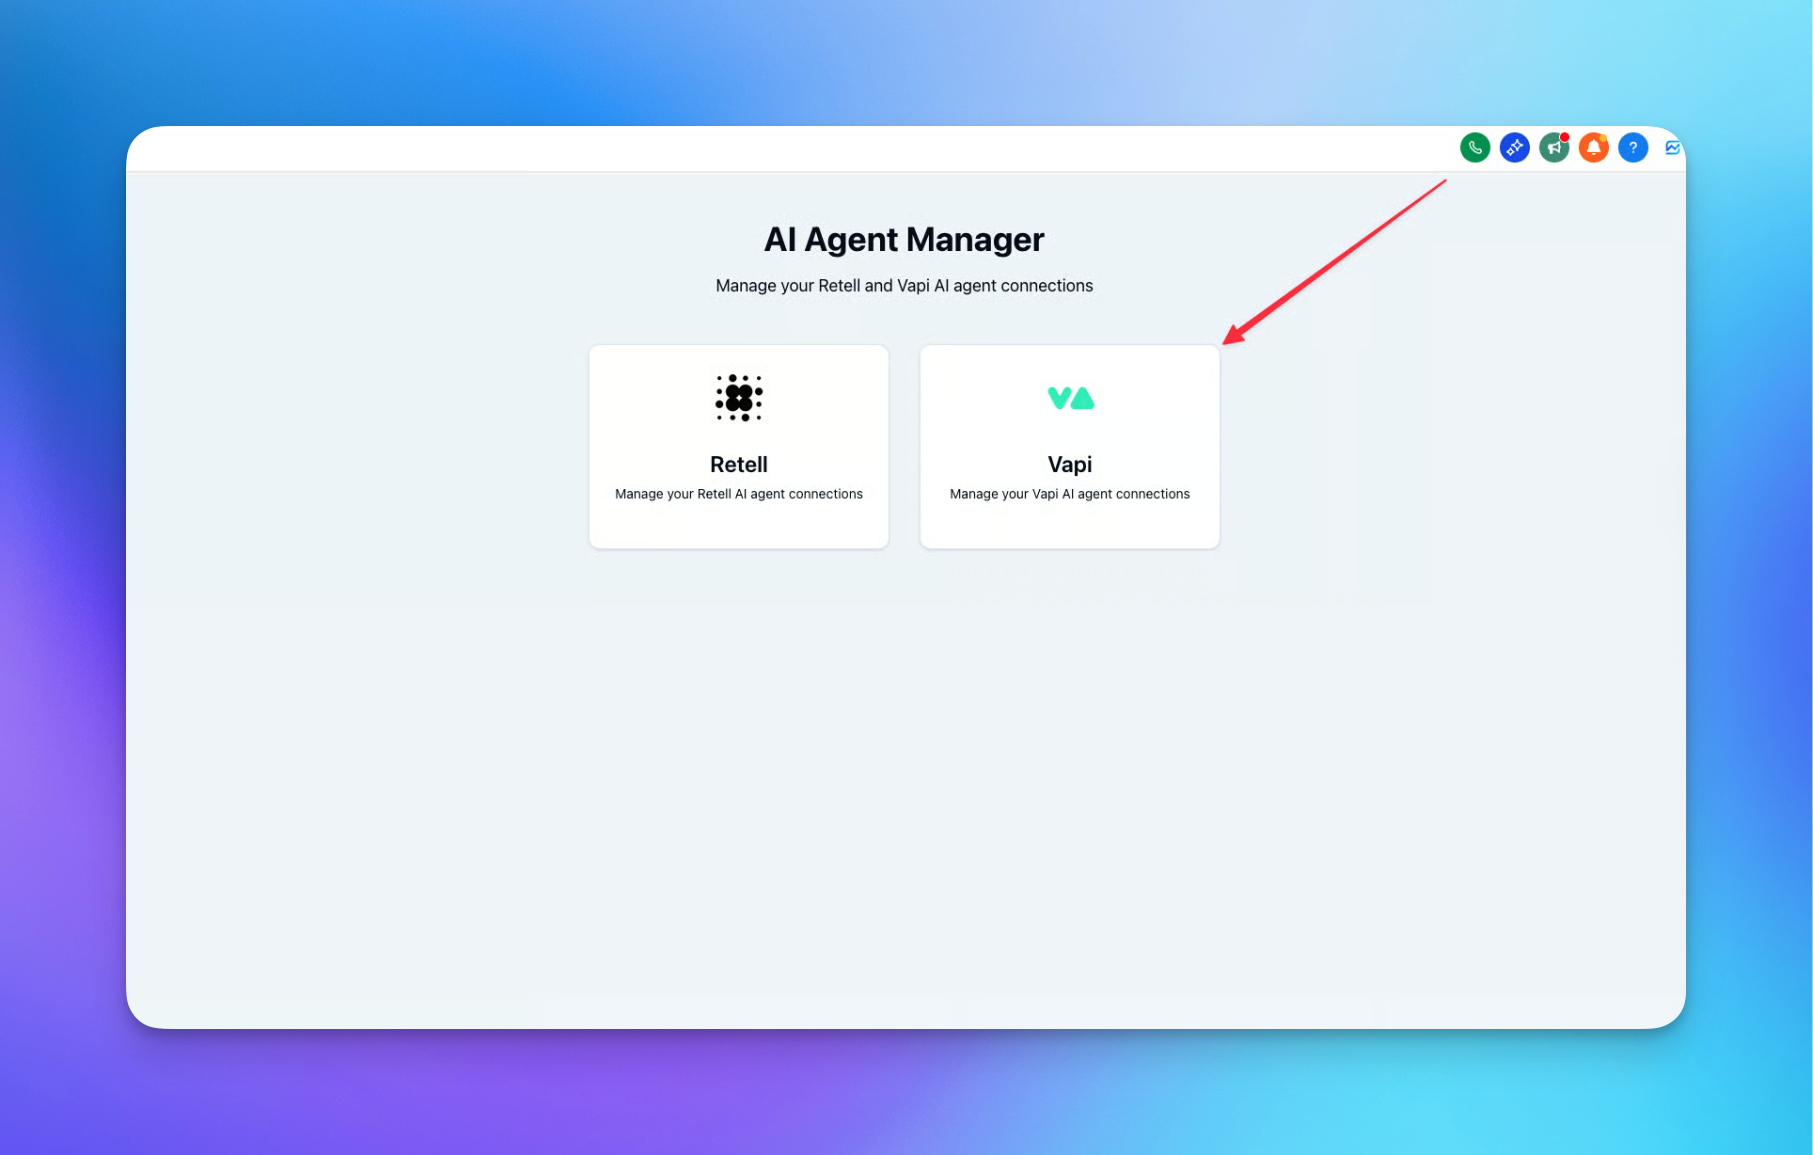
Step 3. Go to the Vapi dashboard
Click the quick link labeled Vapi Dashboard → API Key.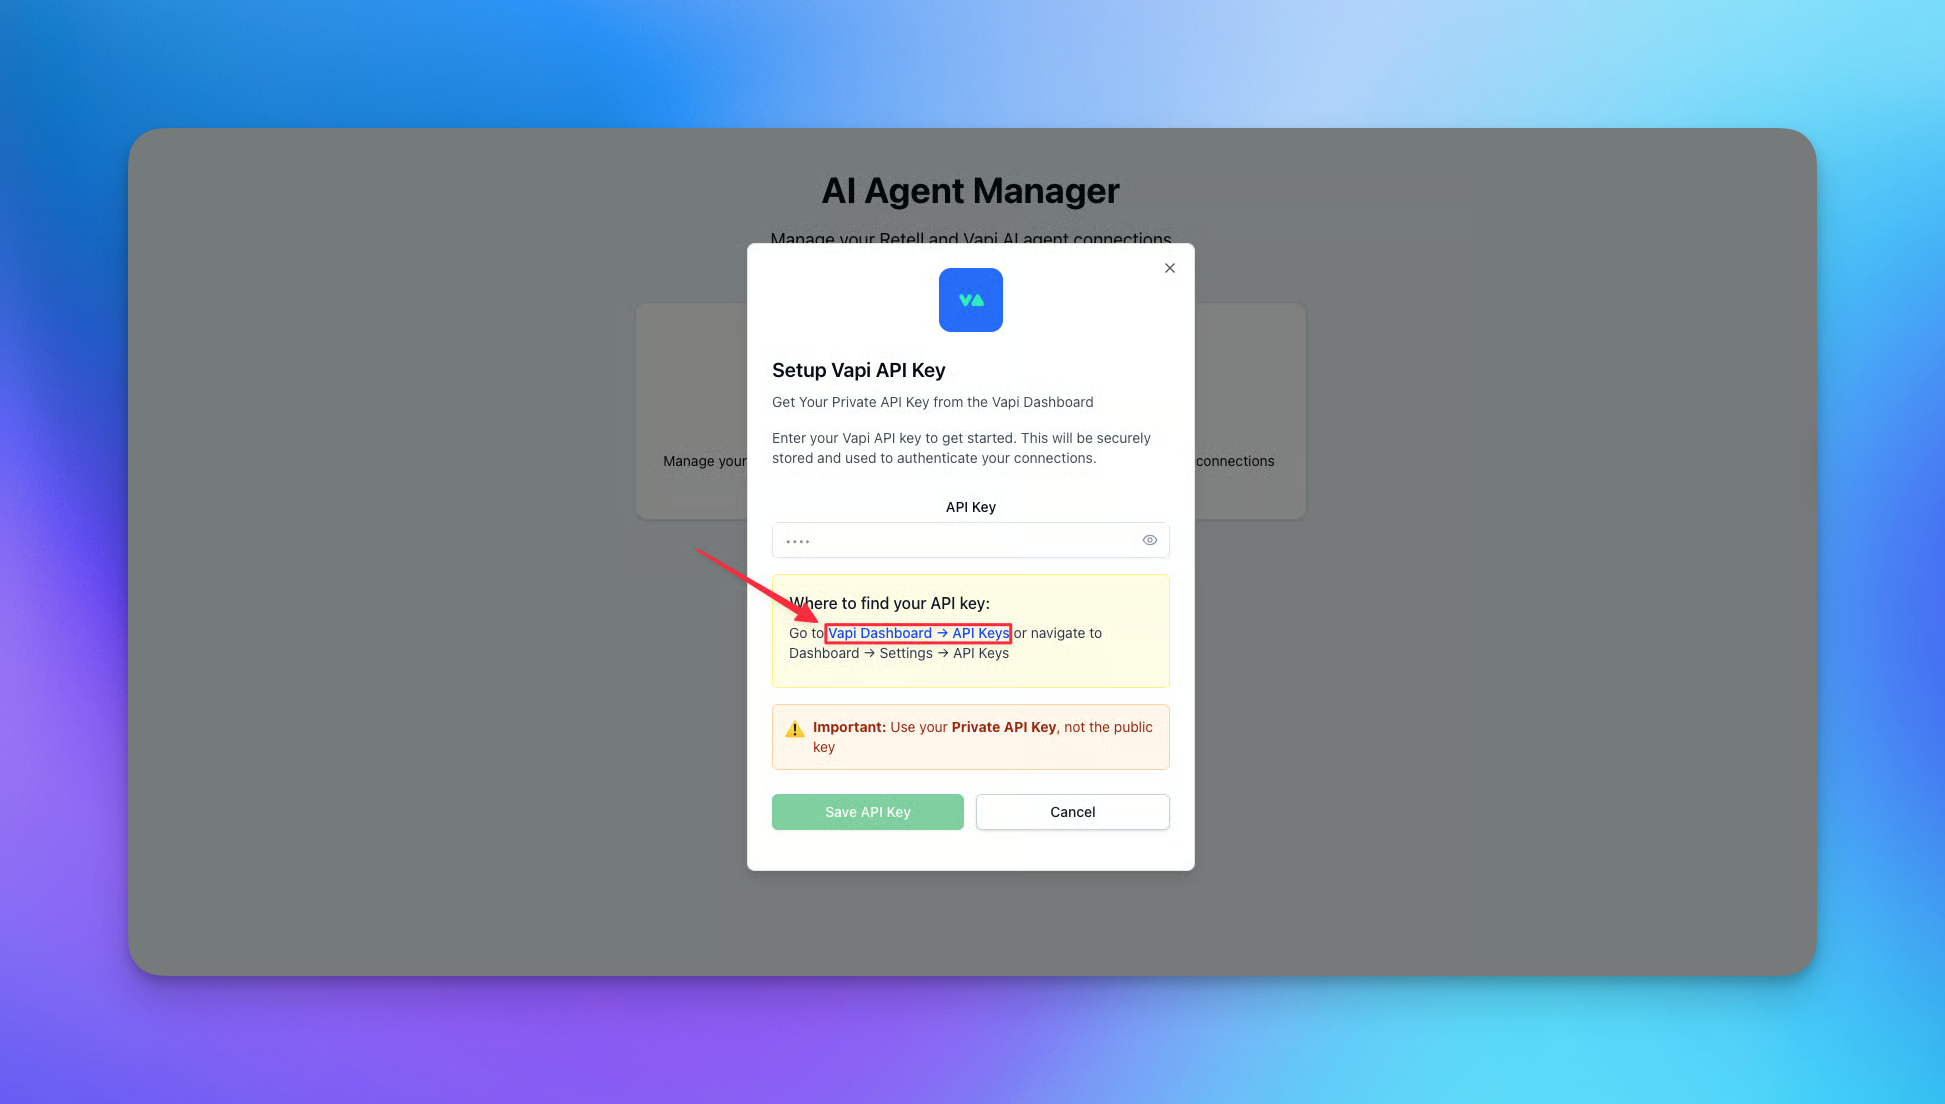
Step 4. Copy your Vapi API key
Once you click the link, you will land on the API key section in Vapi.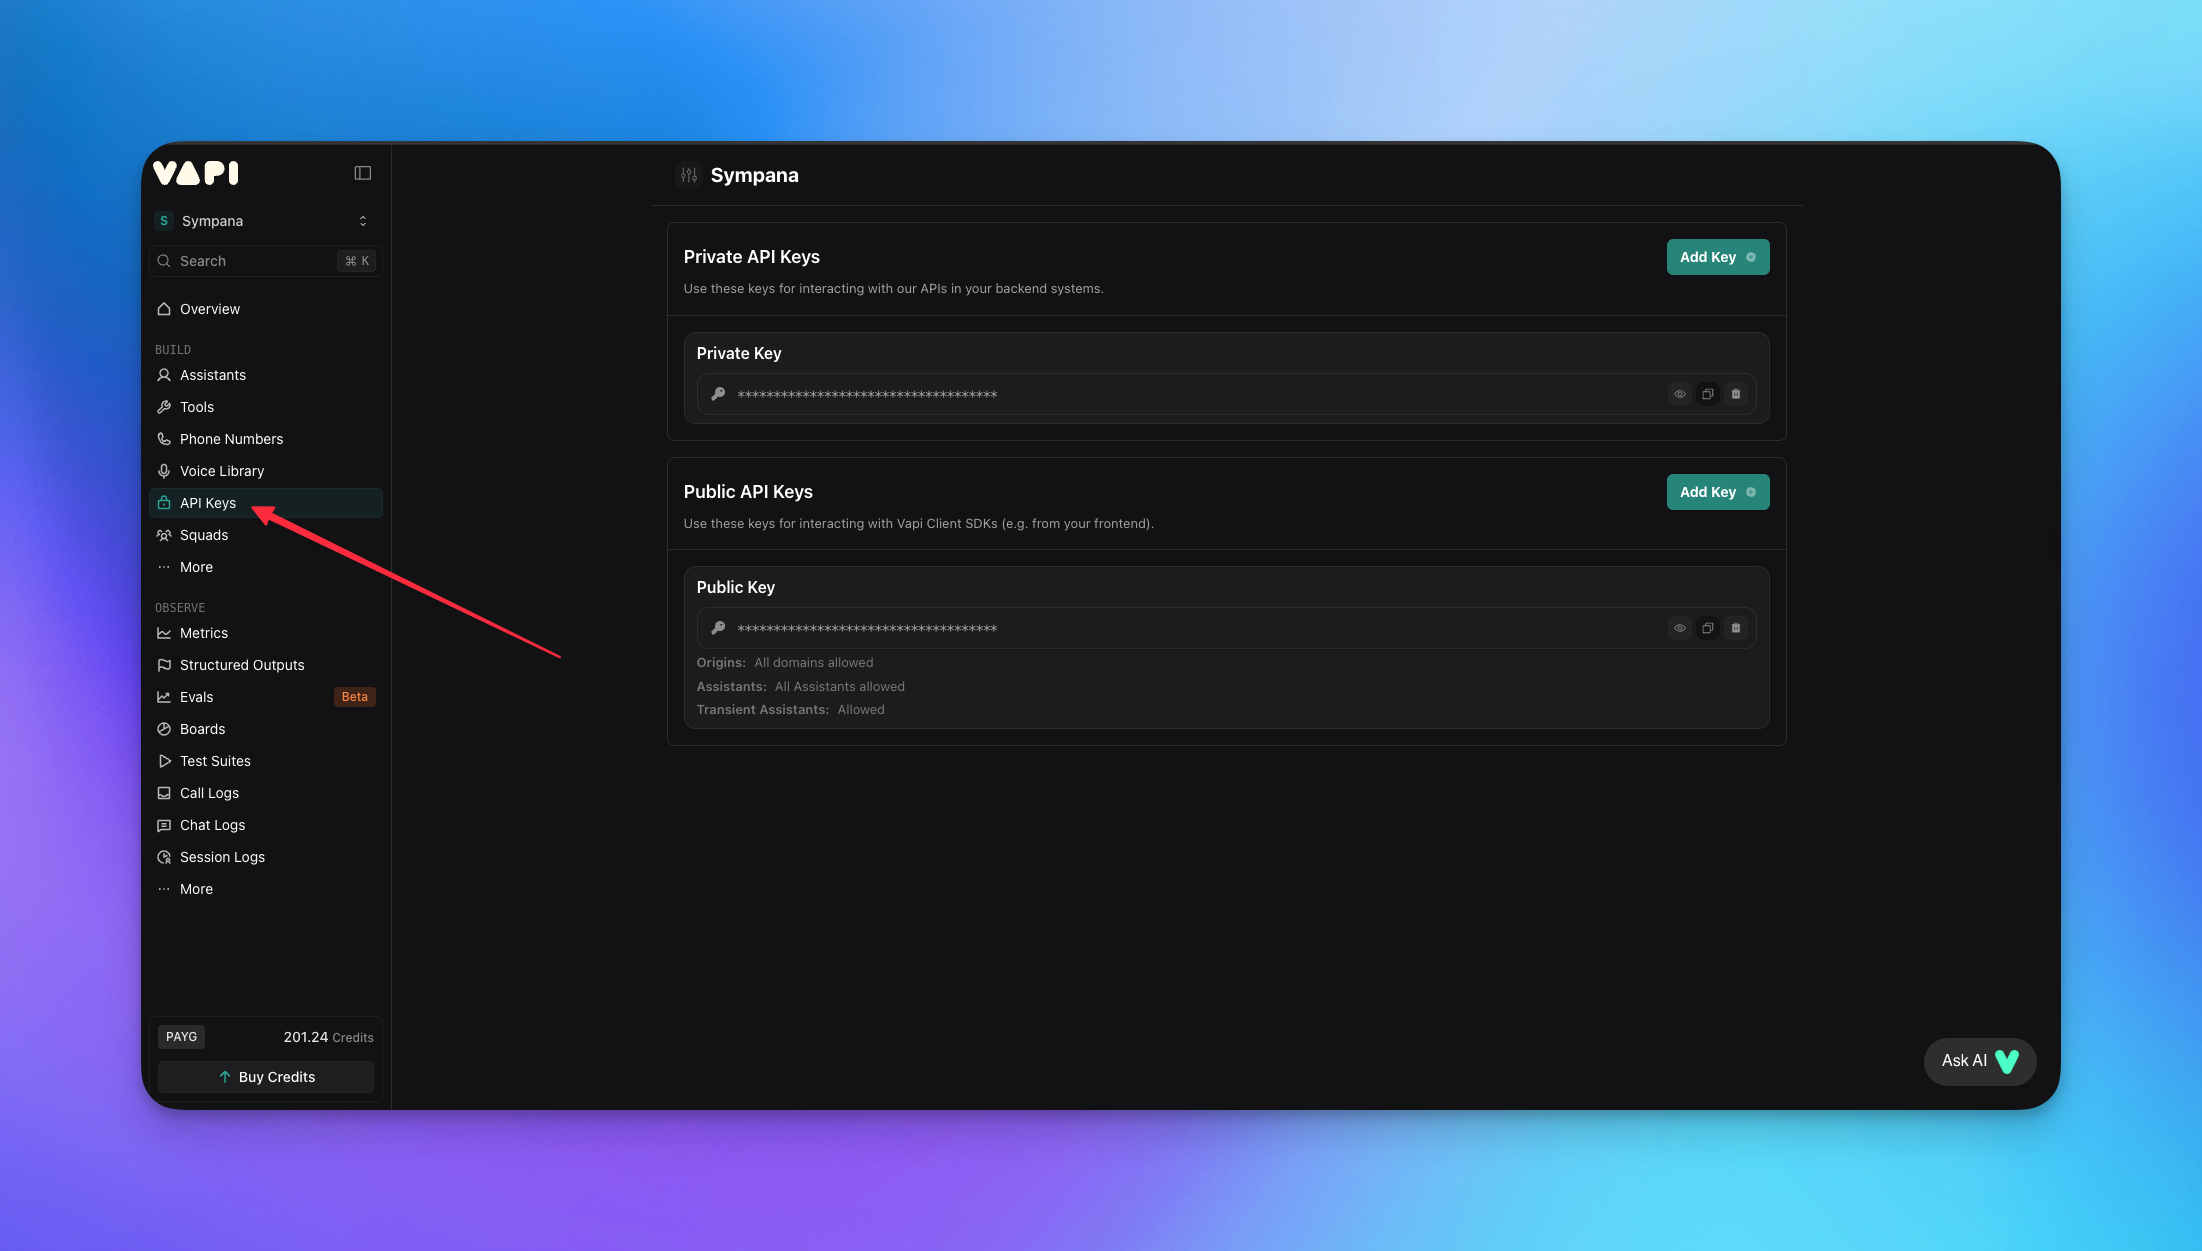
Step 5. Paste the API key into Sympana Connector
Create a new API key or copy an existing one. Then return to GoHighLevel, open the Sympana Connector app, and paste the key into the API key field.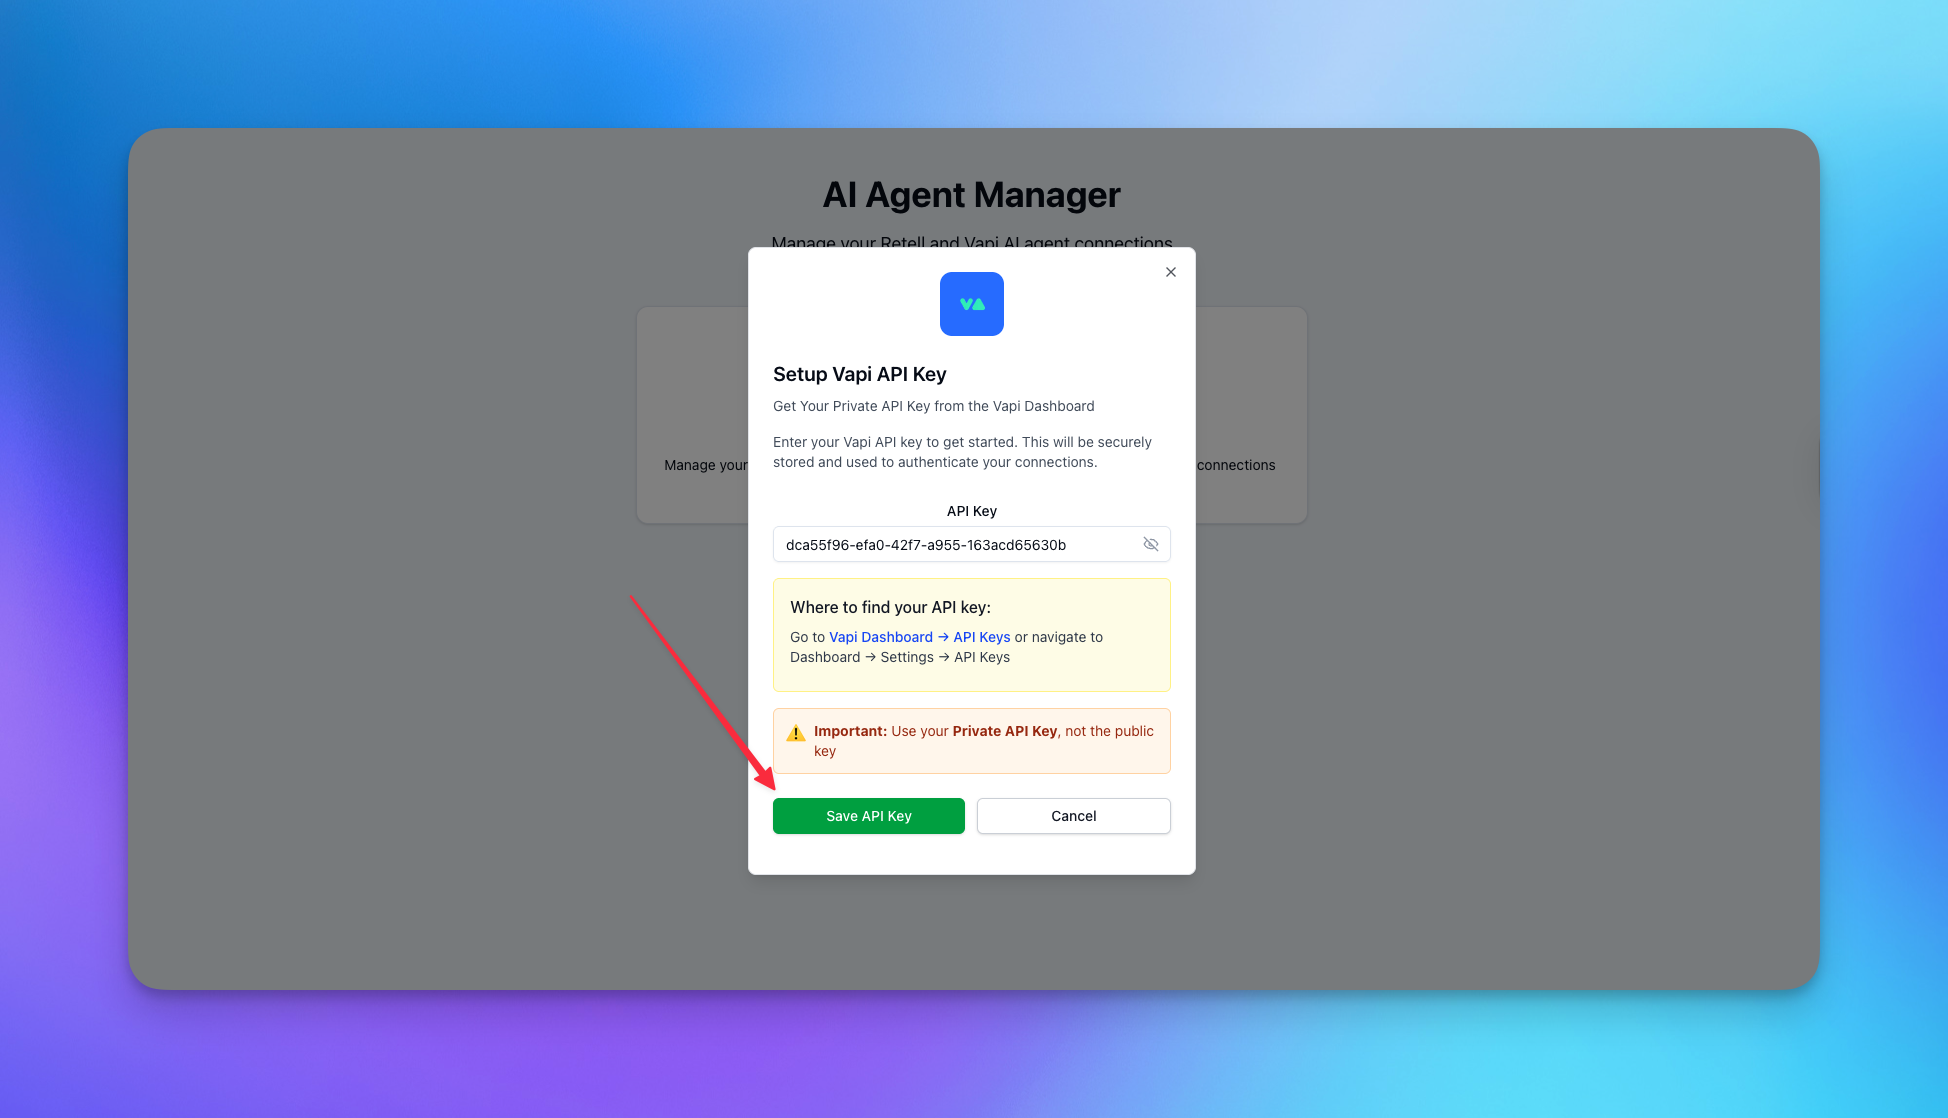
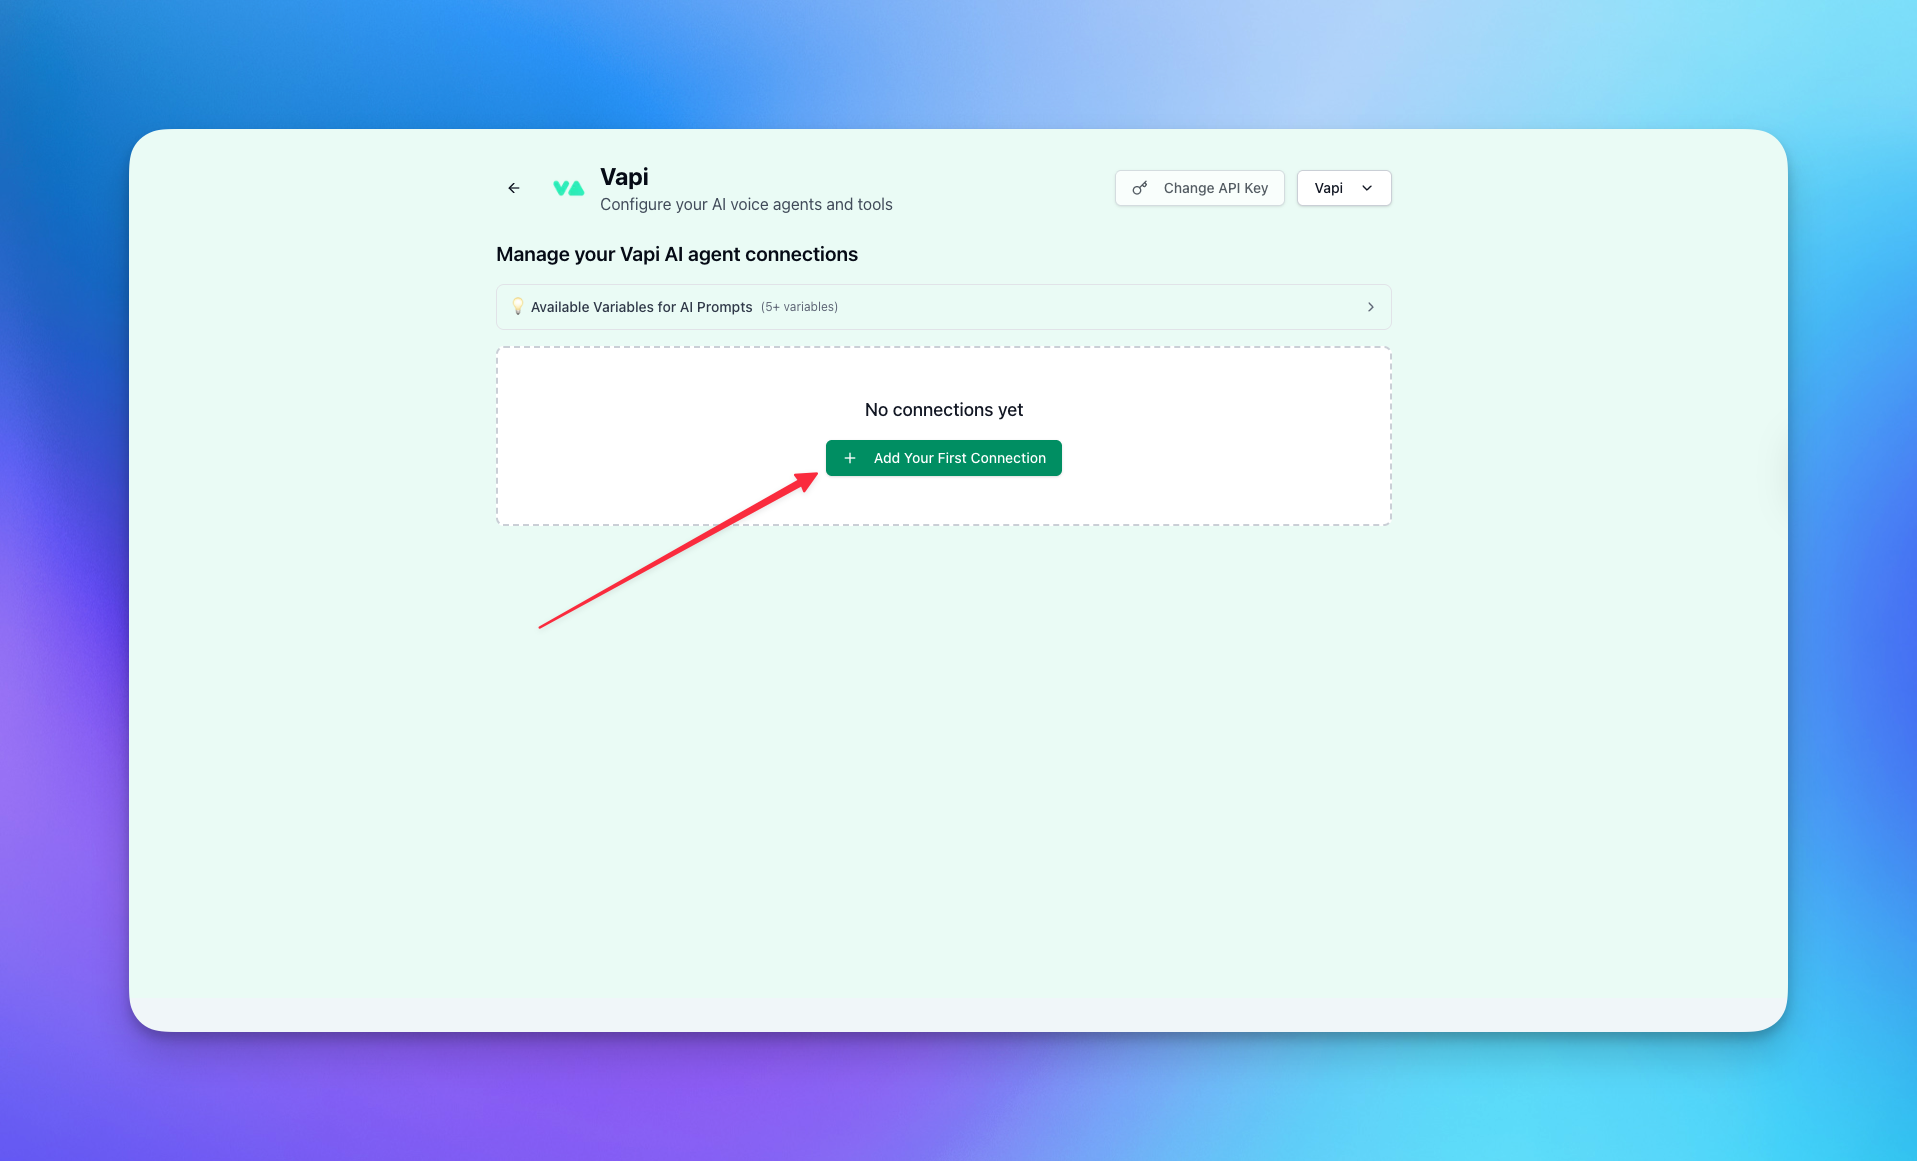
Step 6. Add your first connection
Once the account is connected, click Add Your First Connection. Before you do, make sure:- you have a phone number connected to Vapi
- you have a calendar created in GoHighLevel
- your calendar does not require a form before booking
Step 7. Name the connection
Create your connection name. Most users use the name of the AI agent they are connecting.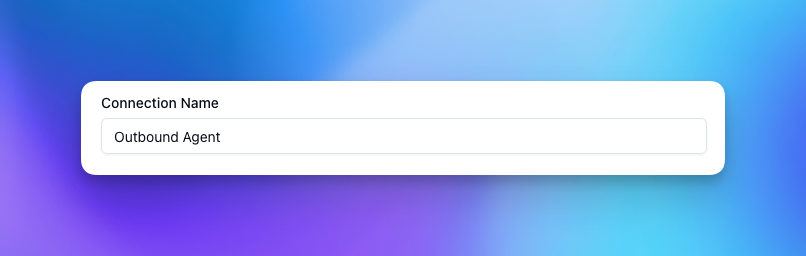
Step 8. Select the Vapi agent
Choose which Vapi agent you want to connect.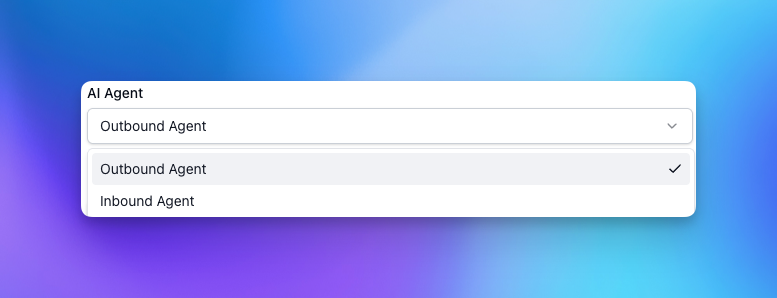
Step 9. Select the phone number
Choose the phone number you want to use for the connection.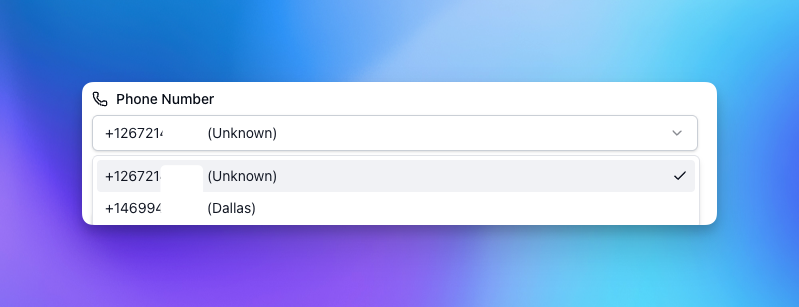
Step 10. Select the calendar
Choose the GoHighLevel calendar you want to connect.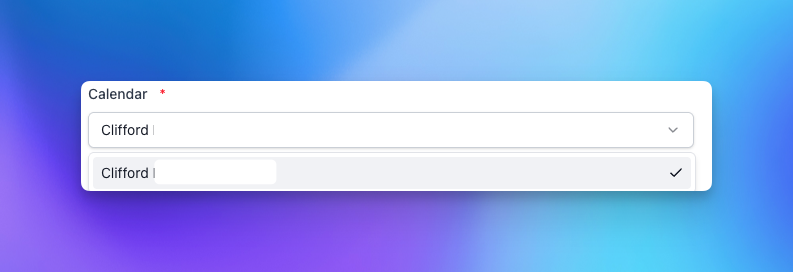
Step 11. Select functions and variables
Choose the functions and global variables you want to use. Some global variables, such as phone number and contact ID, are required. Then click Create Connection.
Step 12. Verify the connection
Your first Vapi connection should now be active.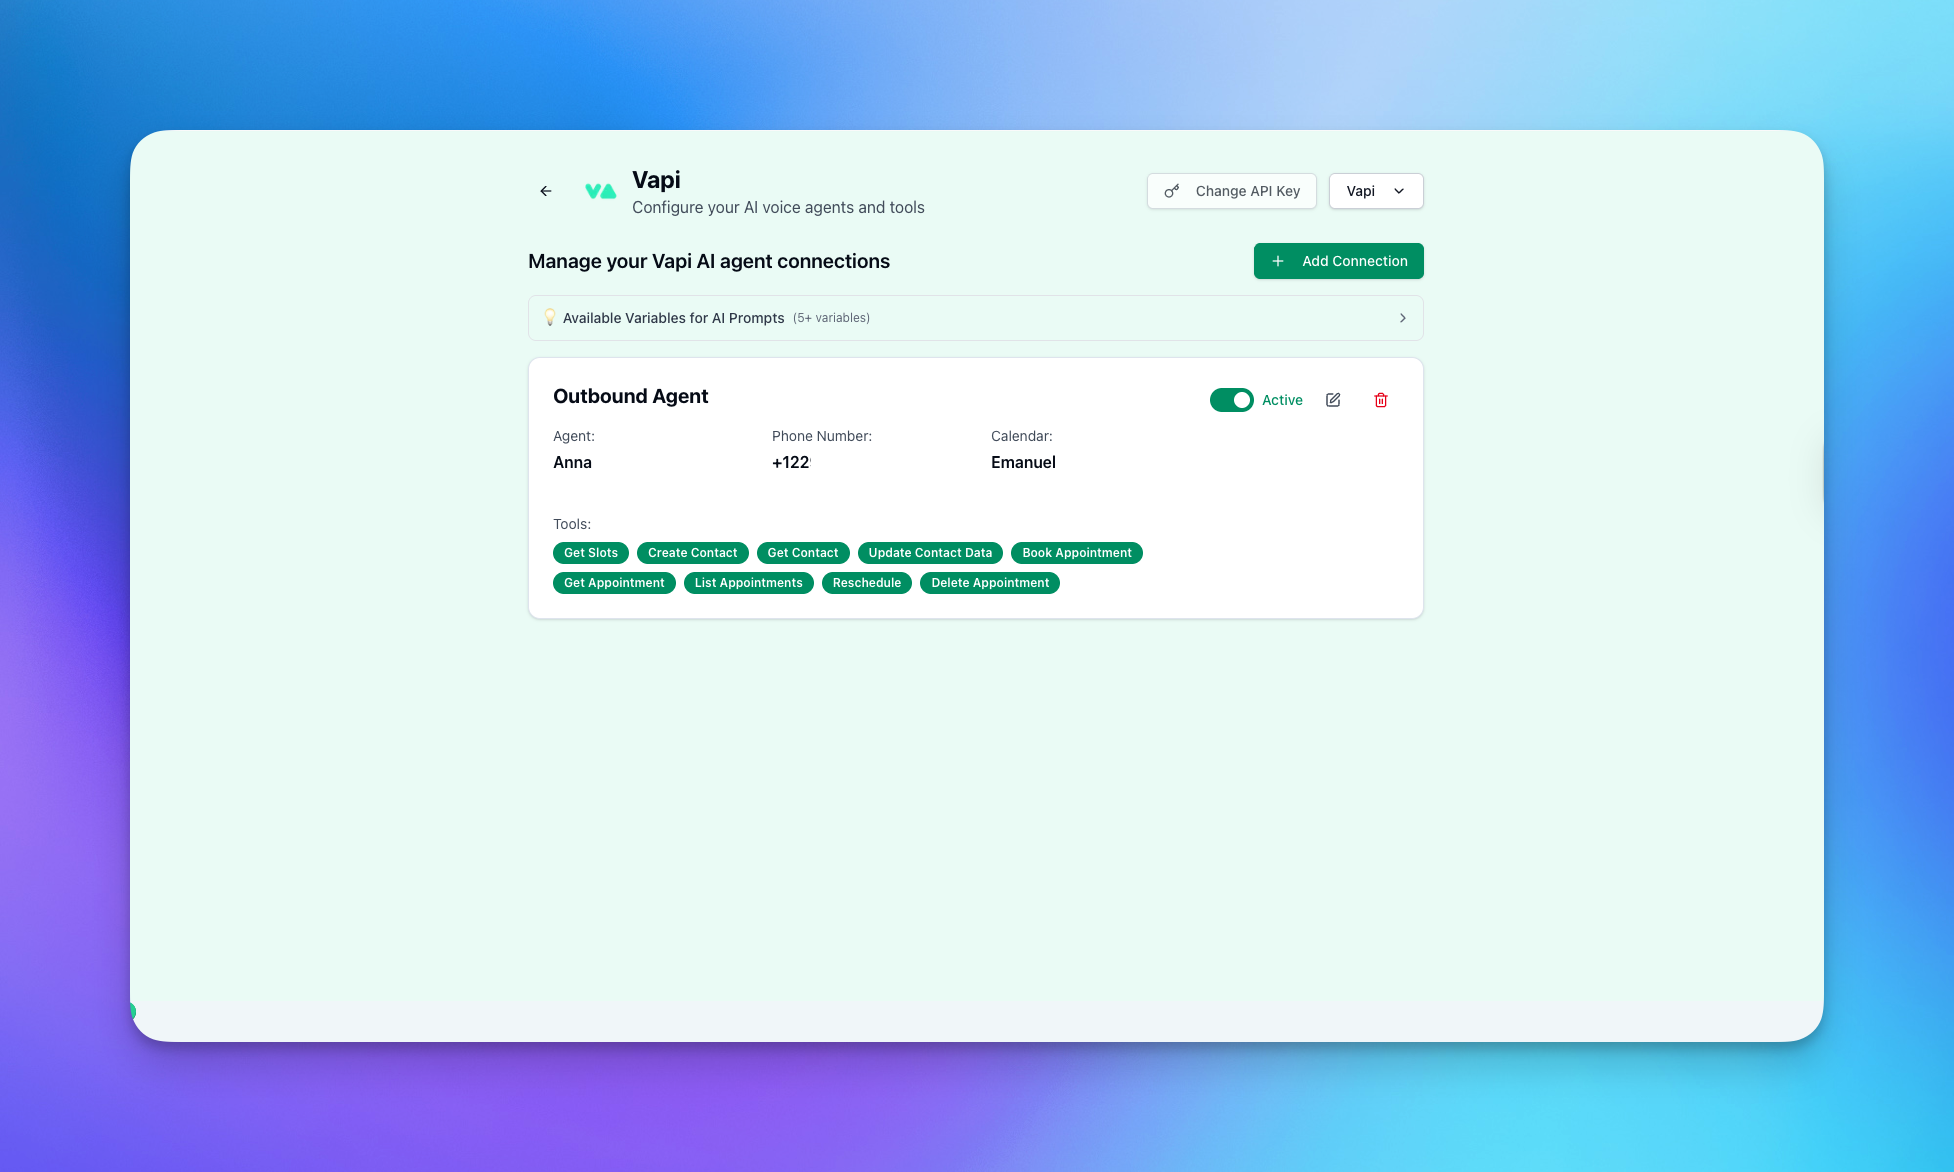 If something does not work during setup, join the Sympana Discord server to get the fastest support from someone on the Sympana team.